Making Better Recordings at Home
10mins read • Bryan Clark
Jump To Section
Make Better Home Recordings
Getting Started
With the never-ending advancement of technology, it is now easier than ever to produce high-quality recordings from the comfort of your own home. However, recording at home can be challenging, especially if you are new to the process. I’ve briefly put together some areas of critical focus to help you get started and aid you in making better recordings at home.
The first step in making a great home studio recording is choosing the right room. Ideally, you want to select a room that has good acoustics, minimal background noise (away from busy roads, factories, and industrial machinery like HVAC systems, etc), and plenty of space.
In reality, most of us are faced with trying to take existing spaces that were never meant or designed from the ground up to be dedicated recording spaces. Most commercial studios whose foundations are individually isolated, have asymmetrical floor plans, dedicated tech power supplies, ultra-quiet HVAC systems, and are acoustically tuned.
Home recording usually centers around turning the inherent shortcomings of livable spaces (bedrooms, bathrooms, and closets) into positive possibilities. Moreover, by following the forthcoming suggestions, you’ll be well on your way to getting the best possible recording quality regardless of your situation.
Acoustic Treatment
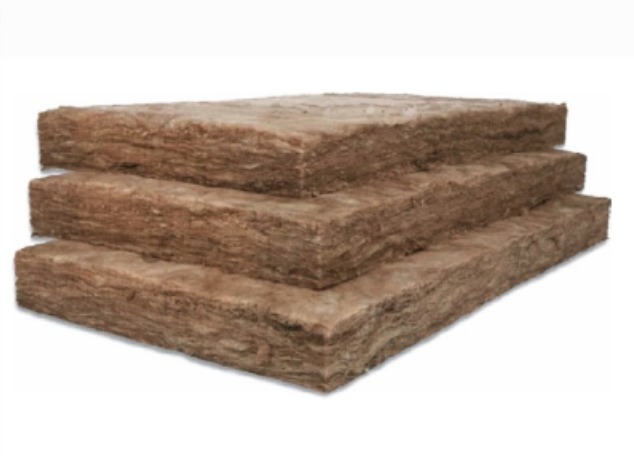
Acoustic treatment is important in any recording environment, but it’s especially crucial in a home studio. Acoustic treatment refers to the materials used to control the sound in a room, including bass traps, diffusers, and absorbers. These materials help to control the reflections and resonances in the room, allowing you to capture a cleaner, more accurate recording. A simple lo-fi to start treating your room is by adding acoustic panels or hanging blankets on the walls and ceiling. This can help reduce unwanted reflections and echoes in the room.
I recommend spending some quality time gaining a decent understanding of acoustics, and knowing your room’s dimensions. I highly recommend going to GIK Acoustics’ website and clicking their “education” tab. You’ll find a wealth of information there and get a better idea of what products you might want to consider buying and/or building.
You need to know the exact dimensions of each room you’re going to be doing recordings in, and there is a free resource available for you regardless of your OS. It is called the Room EQ Wizard and it will measure your room. All you need is your interface and a USB calibrated measurement mic that is less than $130. Based on that reading and information, you will have a very solid idea of how much acoustic treatment you need and where to place it.
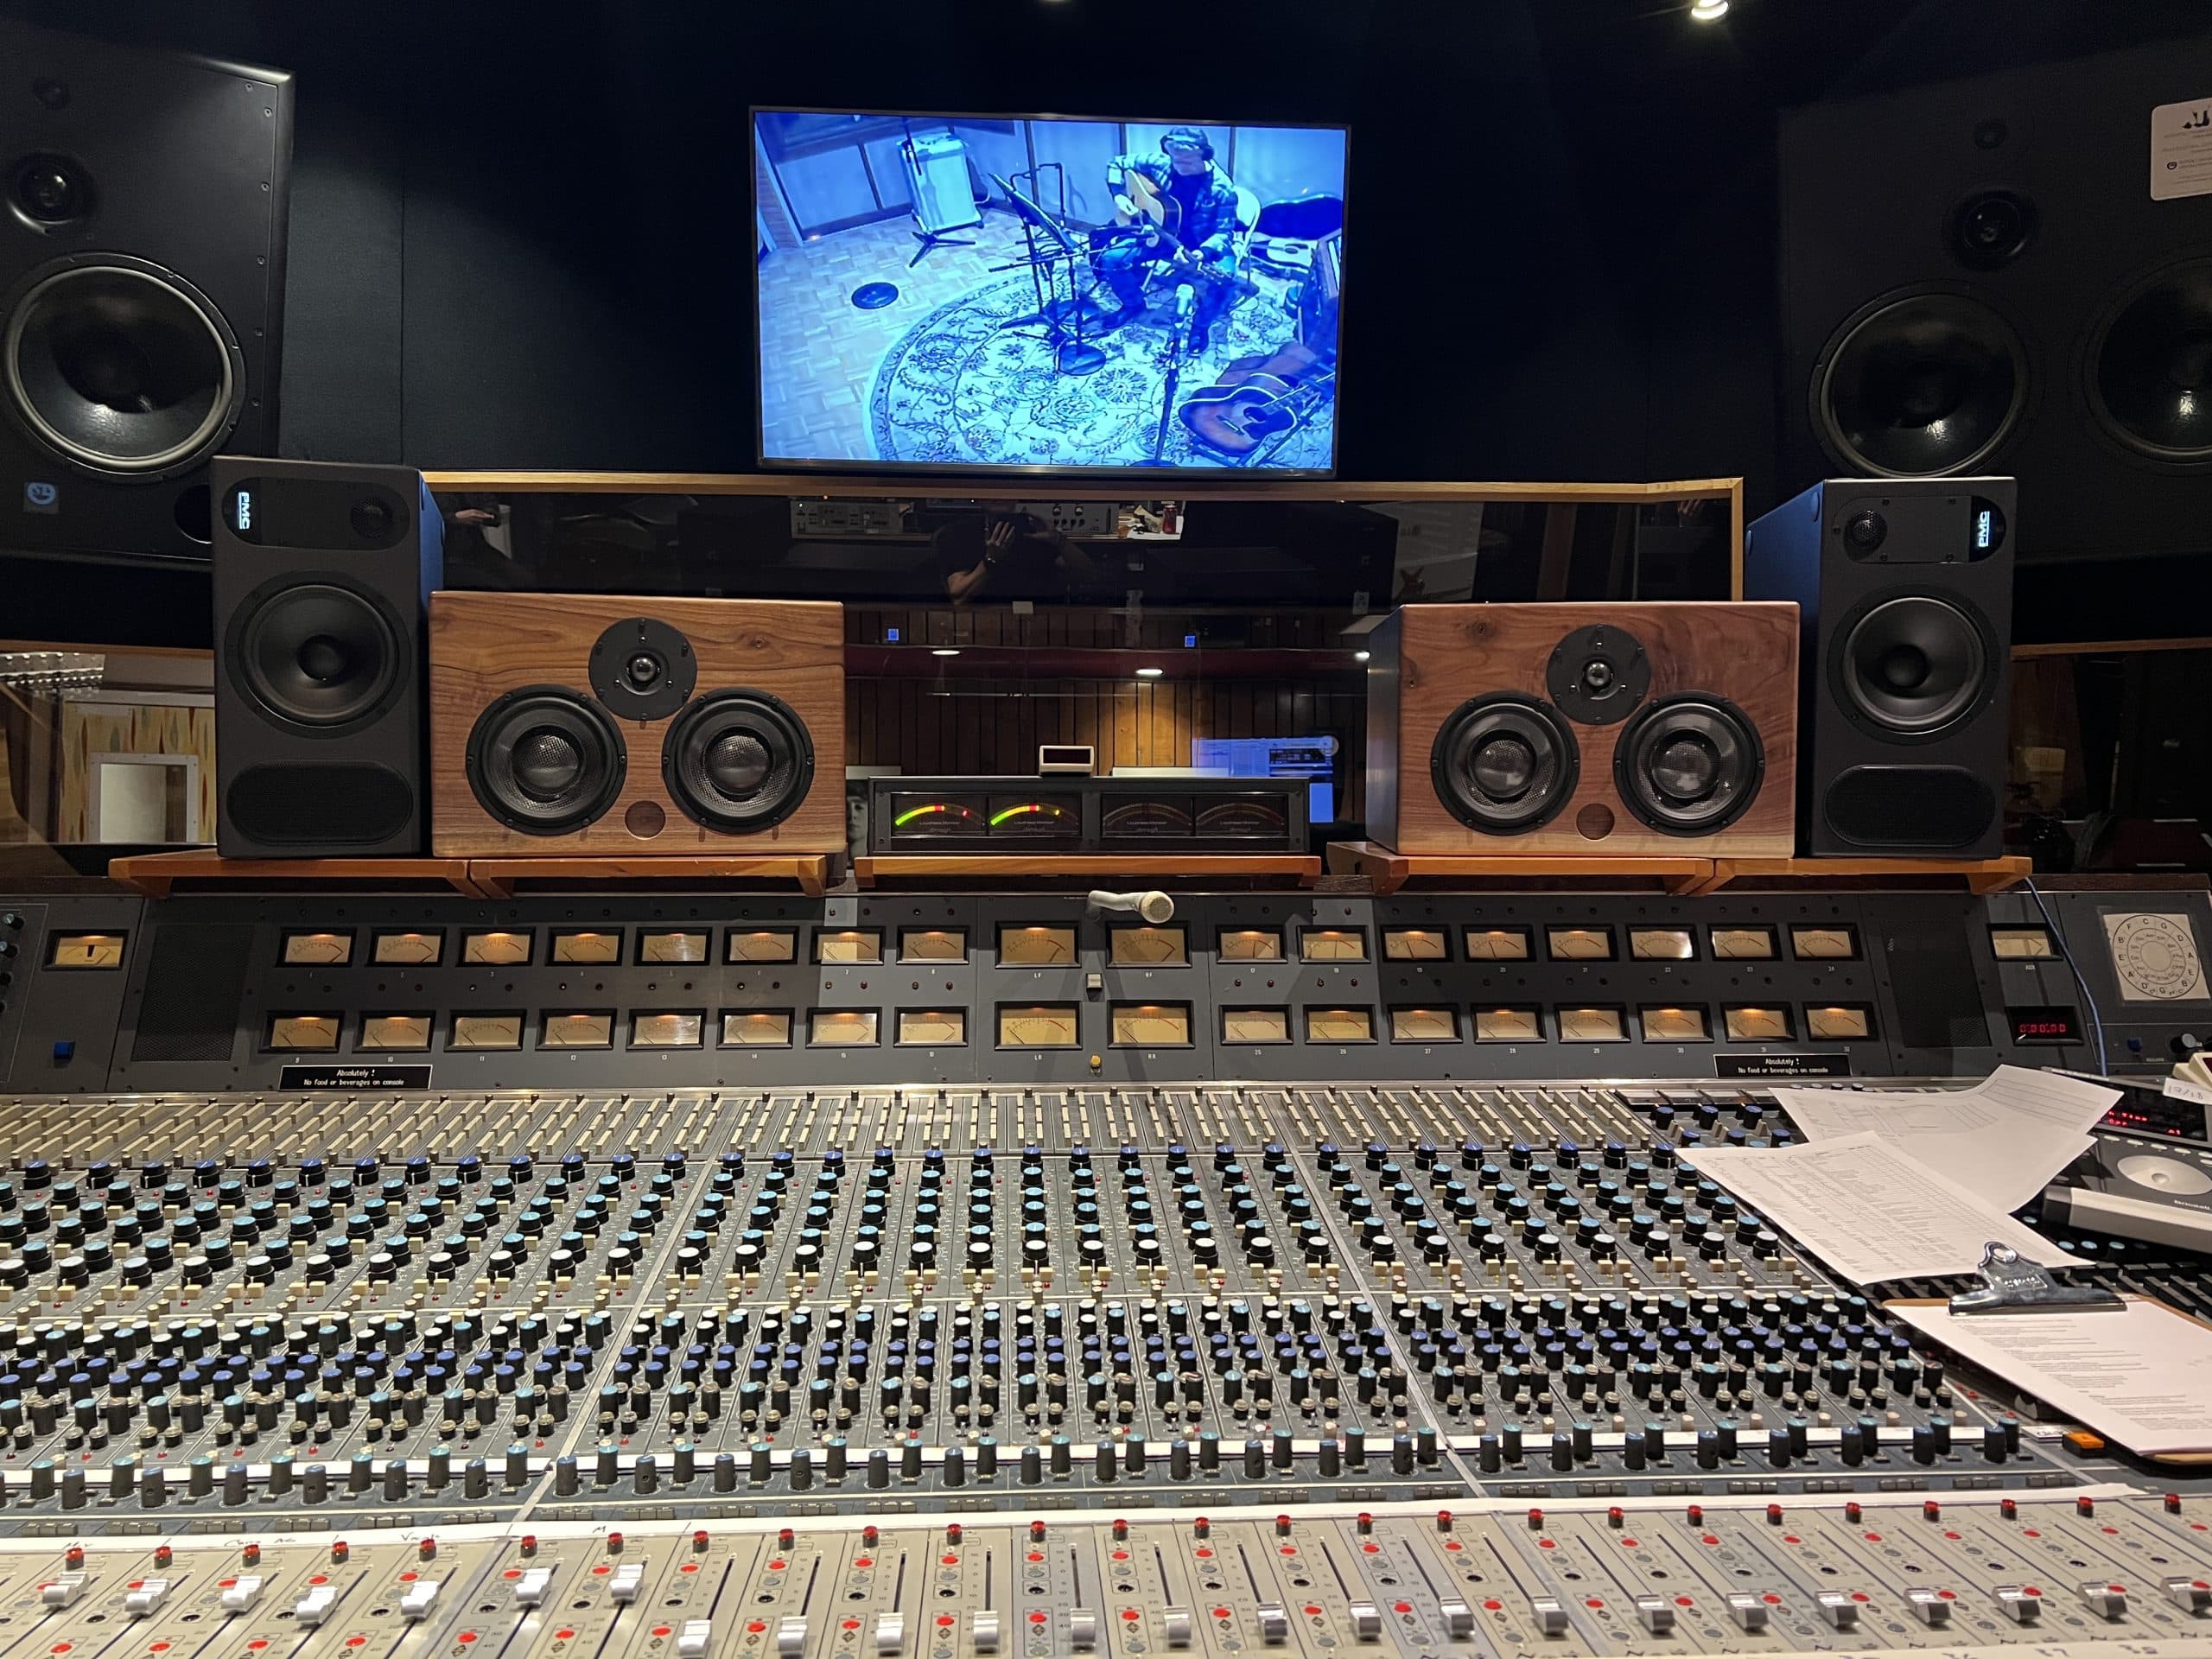
Quality Equipment
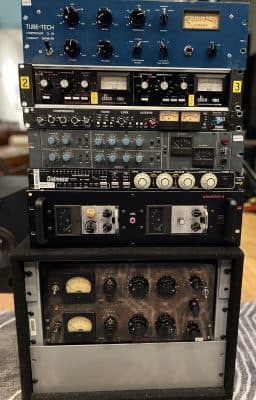
Investing in great recording equipment makes a huge difference in the quality of your recordings. My advice that I give The Blackbird Academy students is to buy the very best quality gear you can afford (at the time) and always work toward upgrading along the way. At the very minimum, a good microphone, preamp, and audio interface are essential components for any home recording setup. It is important to research and invest in equipment that fits your budget and meets your specific recording needs especially as you scale. However, keep in mind that expensive equipment does not guarantee a good recording and the most important factor is knowing how to use the equipment you have. “It’s the wizard, not the wand”.
If you’re just beginning to get your mic locker together and have a limited budget, I would recommend three mics that you’ll always use: The Shure SM57, Shure SM7B, and the Sennheiser 421. I also recommend reading my Premier Guitar Magazine article I wrote on “Mic Polar Patterns” if you’re new to understanding microphone polar patterns.
Engineering 101 - Proper microphone placement
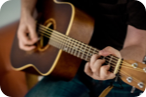
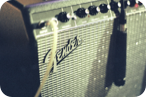
The placement of the microphone is the most critical part in achieving a good recording. It is important to learn tried and true mic placements as well as experiment with different microphone placements to find the best sound for your recording. For example, when you are recording vocals, try positioning the microphone at different heights, distances, and angles from the singer to find their sweet spot. If you are recording an instrument like acoustic guitar, it’s very much the same process. This also goes for electric guitar and bass speaker cabinets and combo amps as well. There are many great videos on how to do this right here at Inside Blackbird in our engineering section.
Monitor your levels
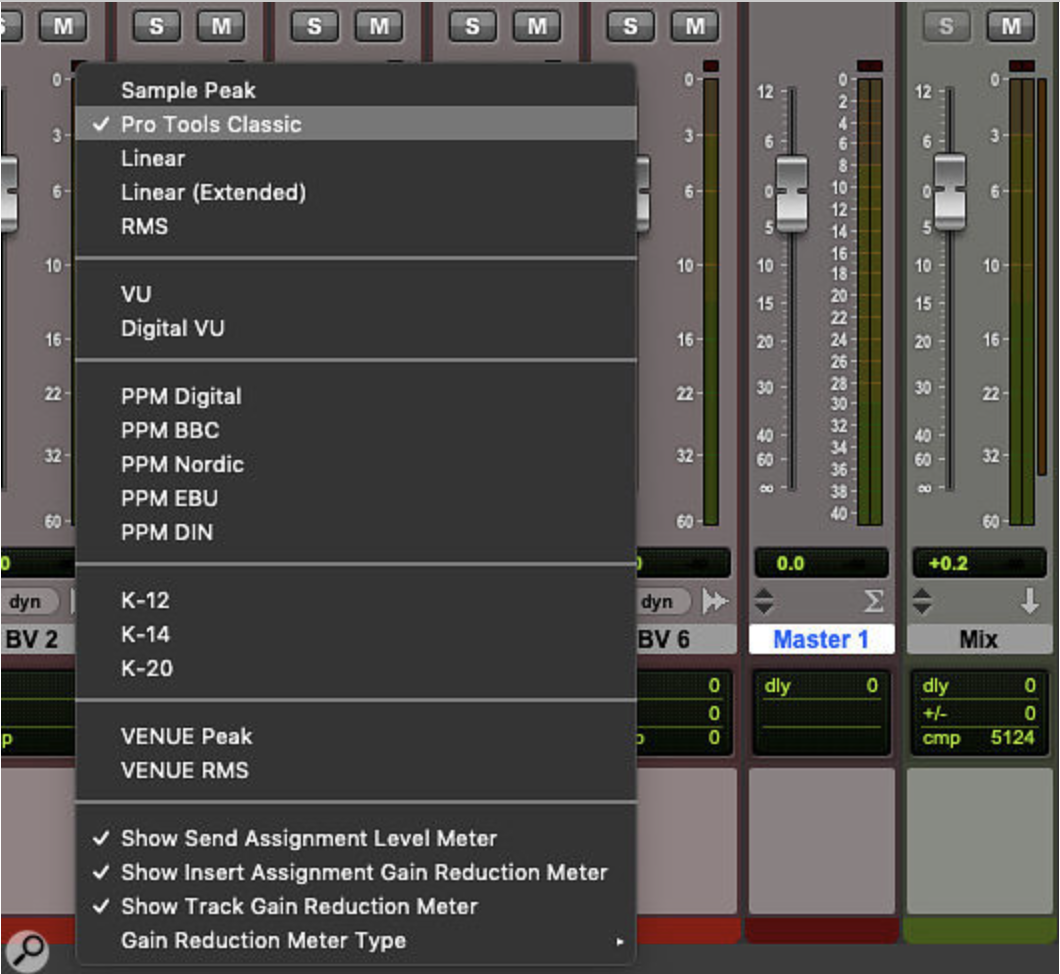
Monitoring your levels is crucial in ensuring a good recording. It is important to keep an eye on the levels to prevent distortion and as well make sure that your signal to noise ratio is at its best. To do this properly, be sure to know what type of metering you are using in your DAW (RMS, PPM, VU, K, etc.). If you have your signal average around -18dB (using the default metering in most DAWs) that is a good general rule of thumb.
Mixing 101 - Edit and mix your recordings
Editing and mixing your recordings are perhaps the most essential steps in producing a great final product. Editing involves cutting and splicing audio, removing unwanted noises, correcting mistakes, etc. Regardless of what DAW you use (Pro Tools, LUNA, Logic, Studio One, Nuendo, etc.) be sure to learn as many shortcut key commands as possible to save you time along the way. If you find yourself doing the same types of things over and over, chances are there’s a shortcut key command that can reduce a 7 step click & key sequence of choices to 1 or 2 clicks.
Mixing is an art form in itself and involves balancing the levels of each track, adding effects, and creating a final stereo mix. It is a highly creative process and can really make or break a song depending on the approach taken. This is the part of the equation that ideally, you will always be honing, obsessing over, and constantly learning throughout your entire career. Have patience, and remember it is important to take your time, embrace your development, keep an open mind, always experiment and..
Practice, practice, practice!
Finally, the most important step in making better recordings at home is practice. Recording is a skill, and like any skill, it takes time and effort to improve. Consistently make time to experiment with different techniques and equipment to find the sound that works best for you and what you are working on. Always listen to other recordings and analyze what works and what doesn’t. The more you practice, the better you will become.
-Bryan Clark